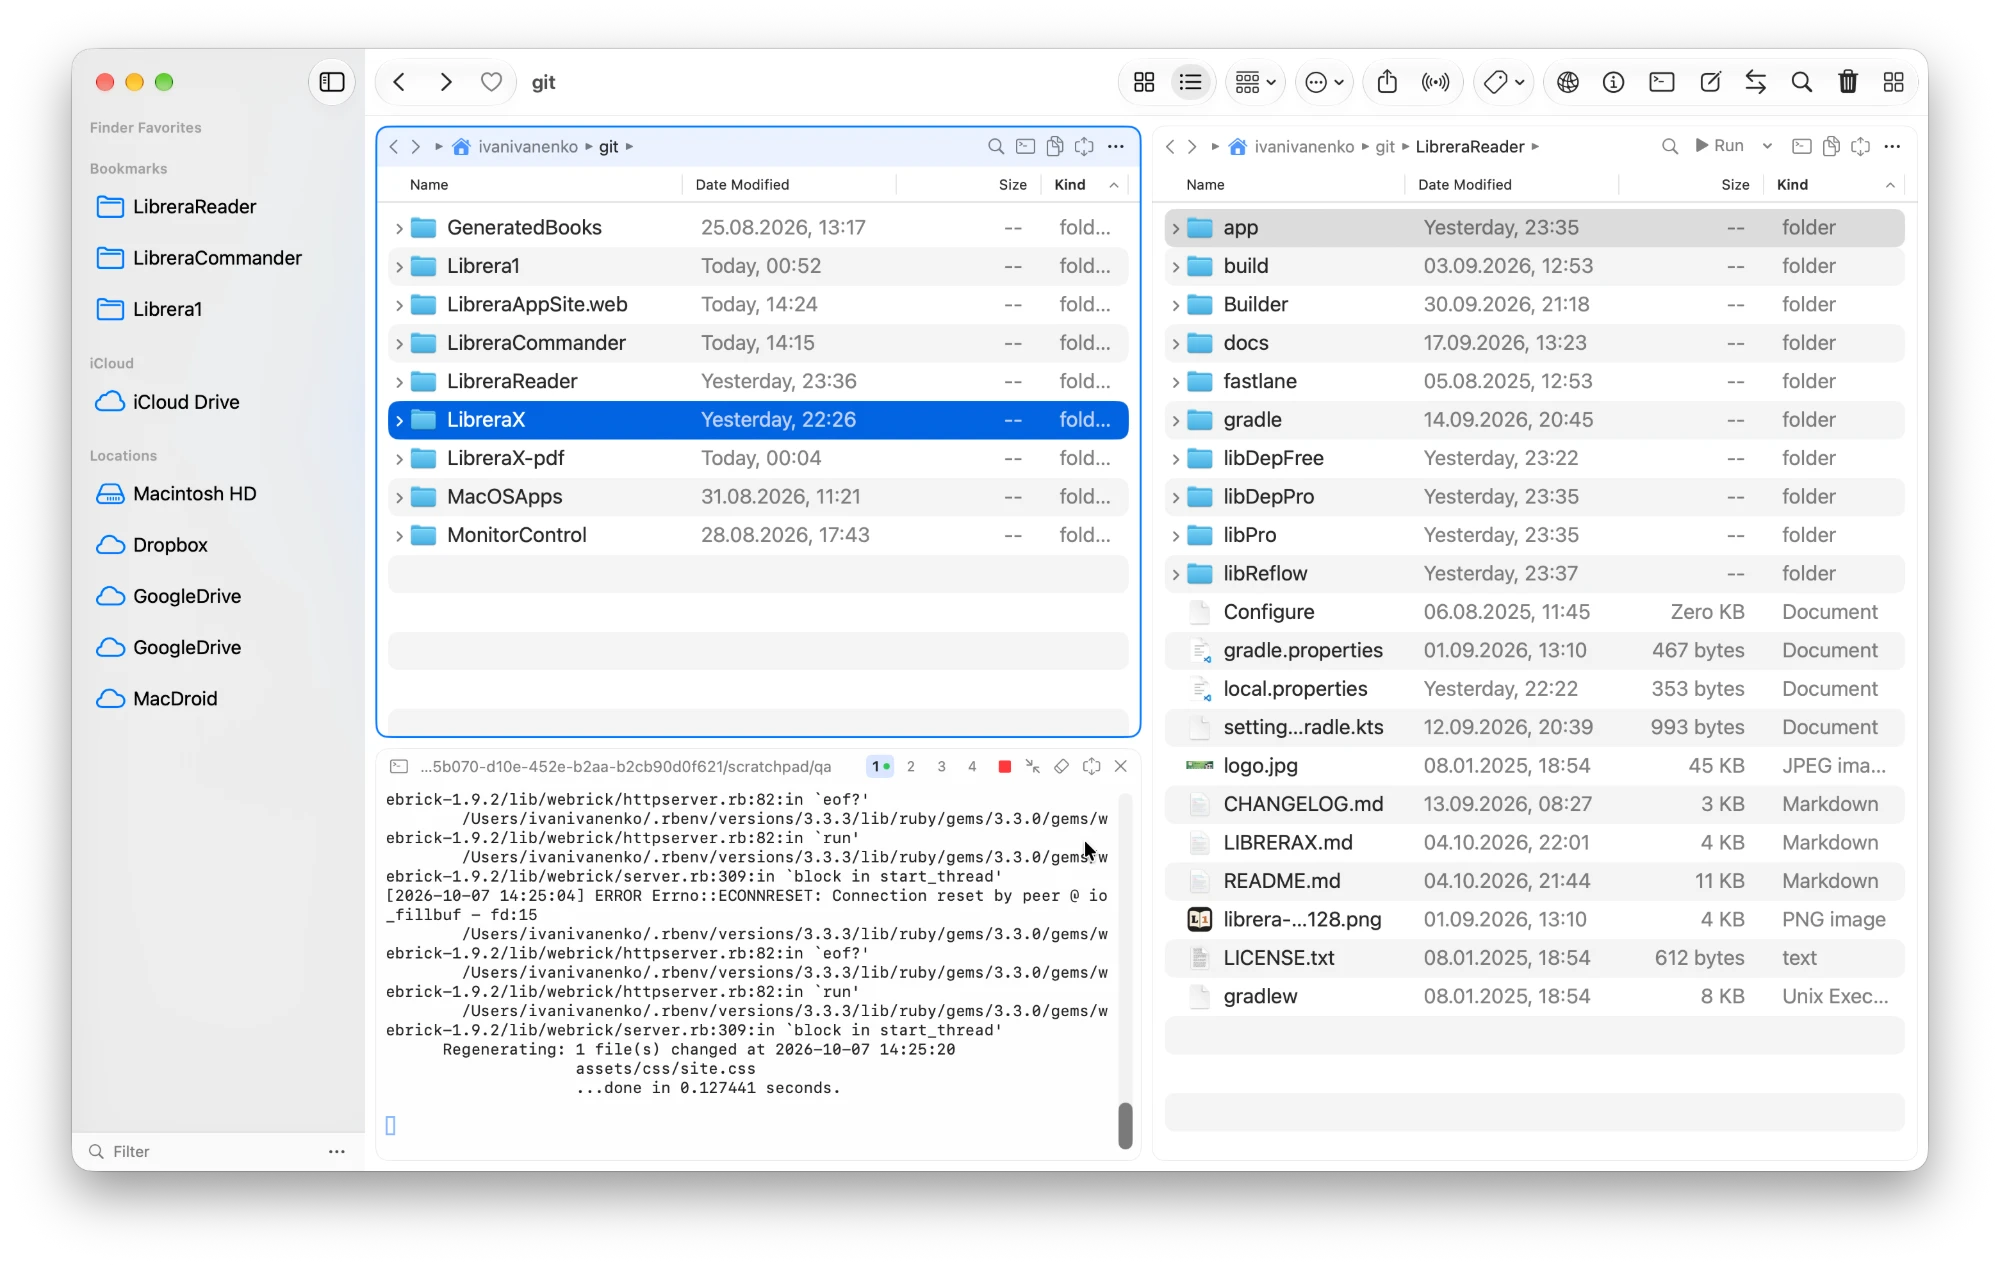
Native macOS dual-pane file manager: Finder-style list and grid panels with previews, an info panel (system info, text / Markdown / HTML viewer, audio and video player with metadata, archive and folder info), a built-in terminal, Finder-style Quick Actions, and Android / iOS simulator device panels.
Requires macOS 14 Sonoma or later (Apple silicon or Intel).
Install
With Homebrew:
brew install foobnix/tap/libreracommander
Update:
brew upgrade libreracommander
Or download the latest DMG from Releases and drag LibreraCommander to Applications.
File access
For access to every folder (and to read Finder’s sidebar favorites) grant it Full Disk Access: System Settings → Privacy & Security → Full Disk Access, or the “Grant Full Disk Access” button at the bottom of the sidebar. Without it the sidebar shows standard folders instead of your Finder favorites.
Layout
The layout button at the right of the toolbar opens the layout editor: pick a grid — 1×1, 1×2 (side by side), 2×1 (stacked) or 2×2 — then click each cell to choose what it shows: a File Panel (up to two: left and right), the Info Panel, the Terminal or the Android panel. Choosing a panel already shown in another cell swaps the two. Changes apply immediately and are remembered.
Shortcuts that show or hide panels (⌘J terminal, ⌥⌘I info panel, F1 / F3, ⌥⌘A Android, Two Panels) still work: a hidden panel’s cell collapses and the other panel in its column takes the full height; a panel shown without a cell of its own goes to the nearest free place.
Every panel’s header has an expand button (or press ` in the focused panel): the panel takes its whole column, and gets the focus; expand one panel on each side to show just those two. If the panel already has its column to itself, it fills the window. Press again (or the button) to restore.
Info panel
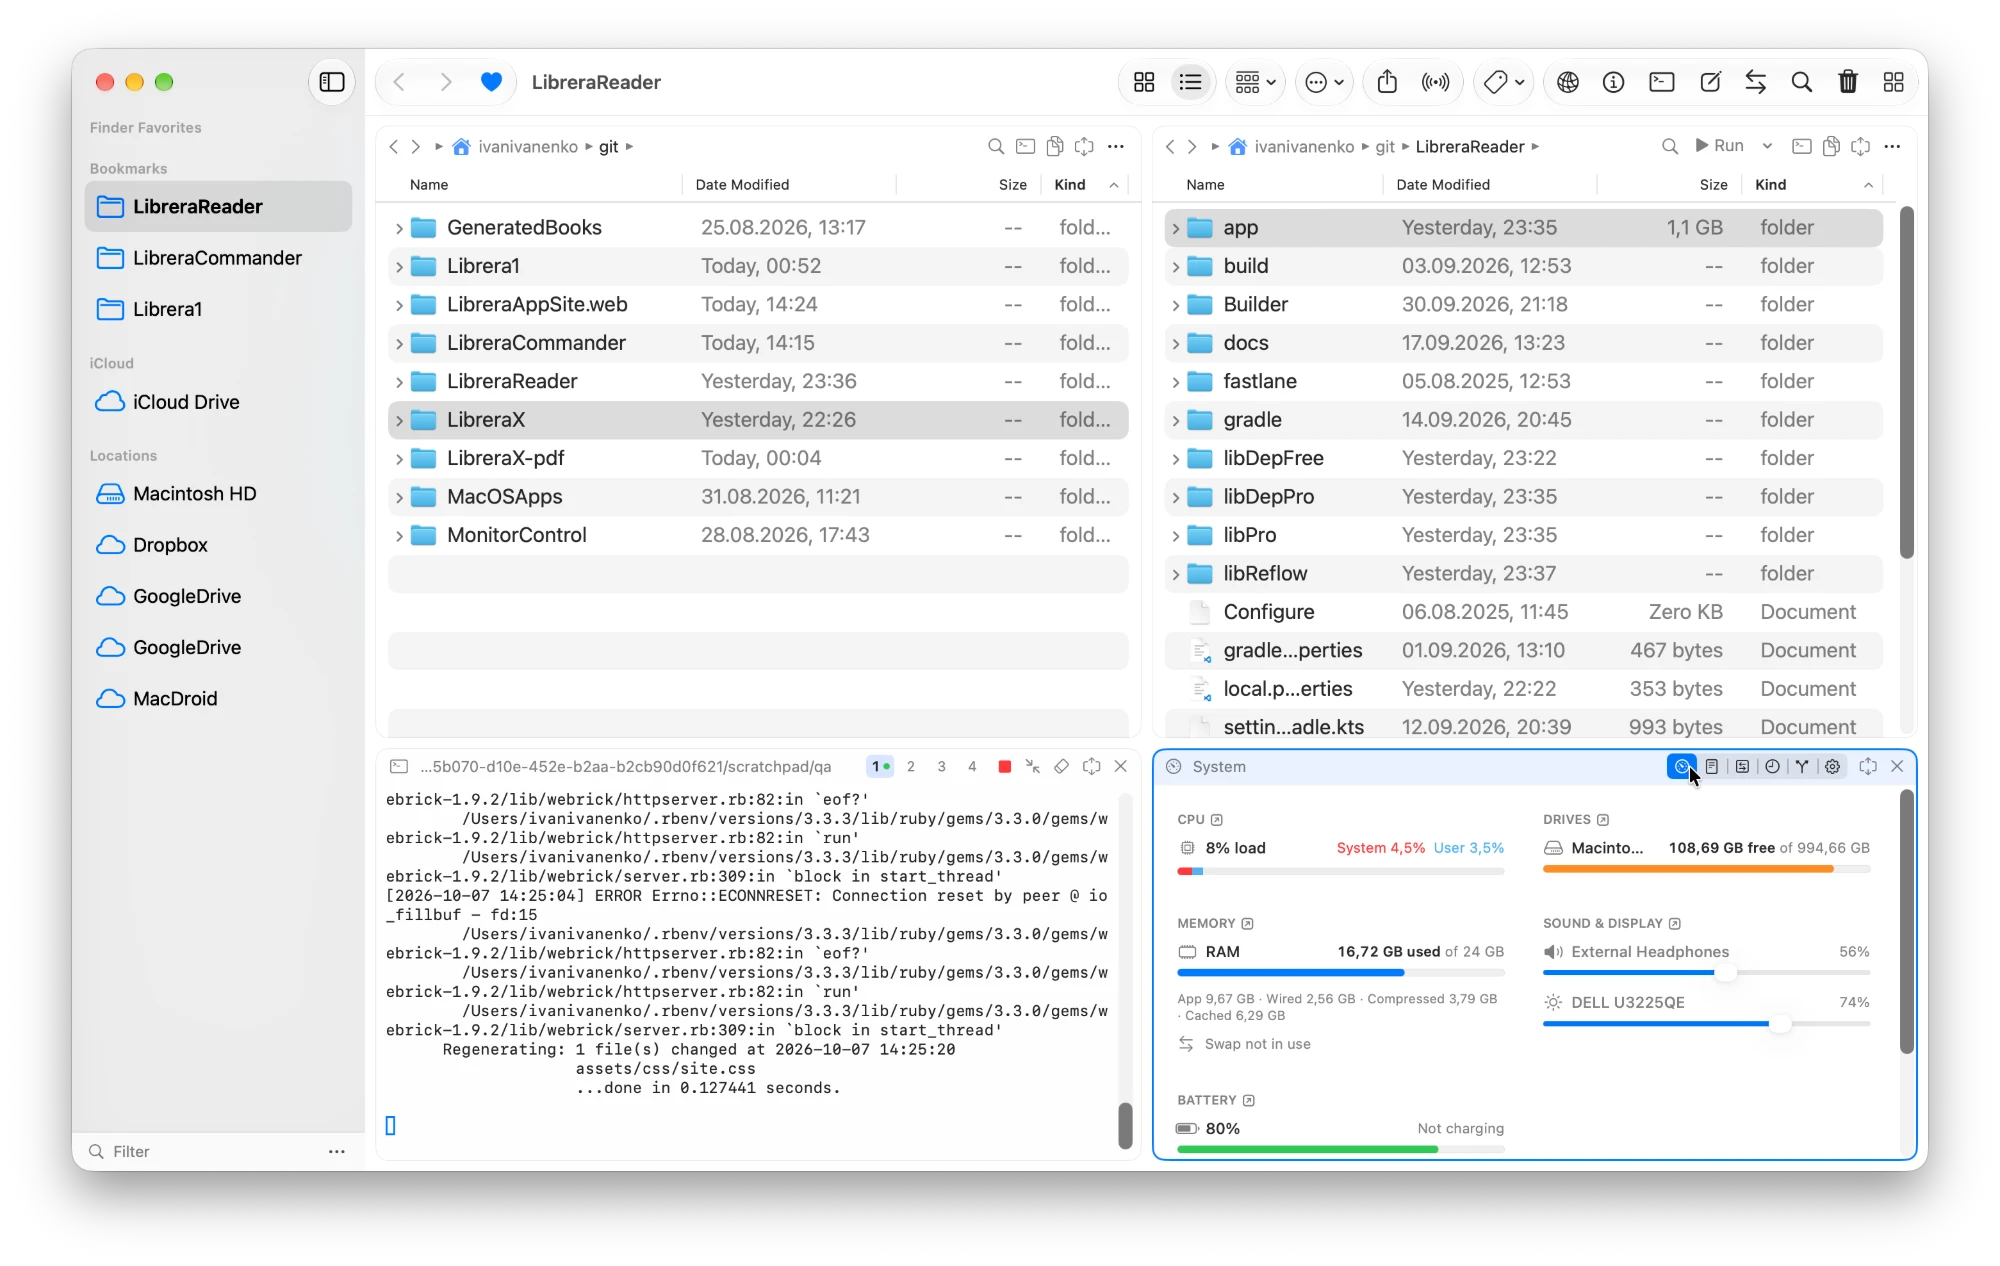
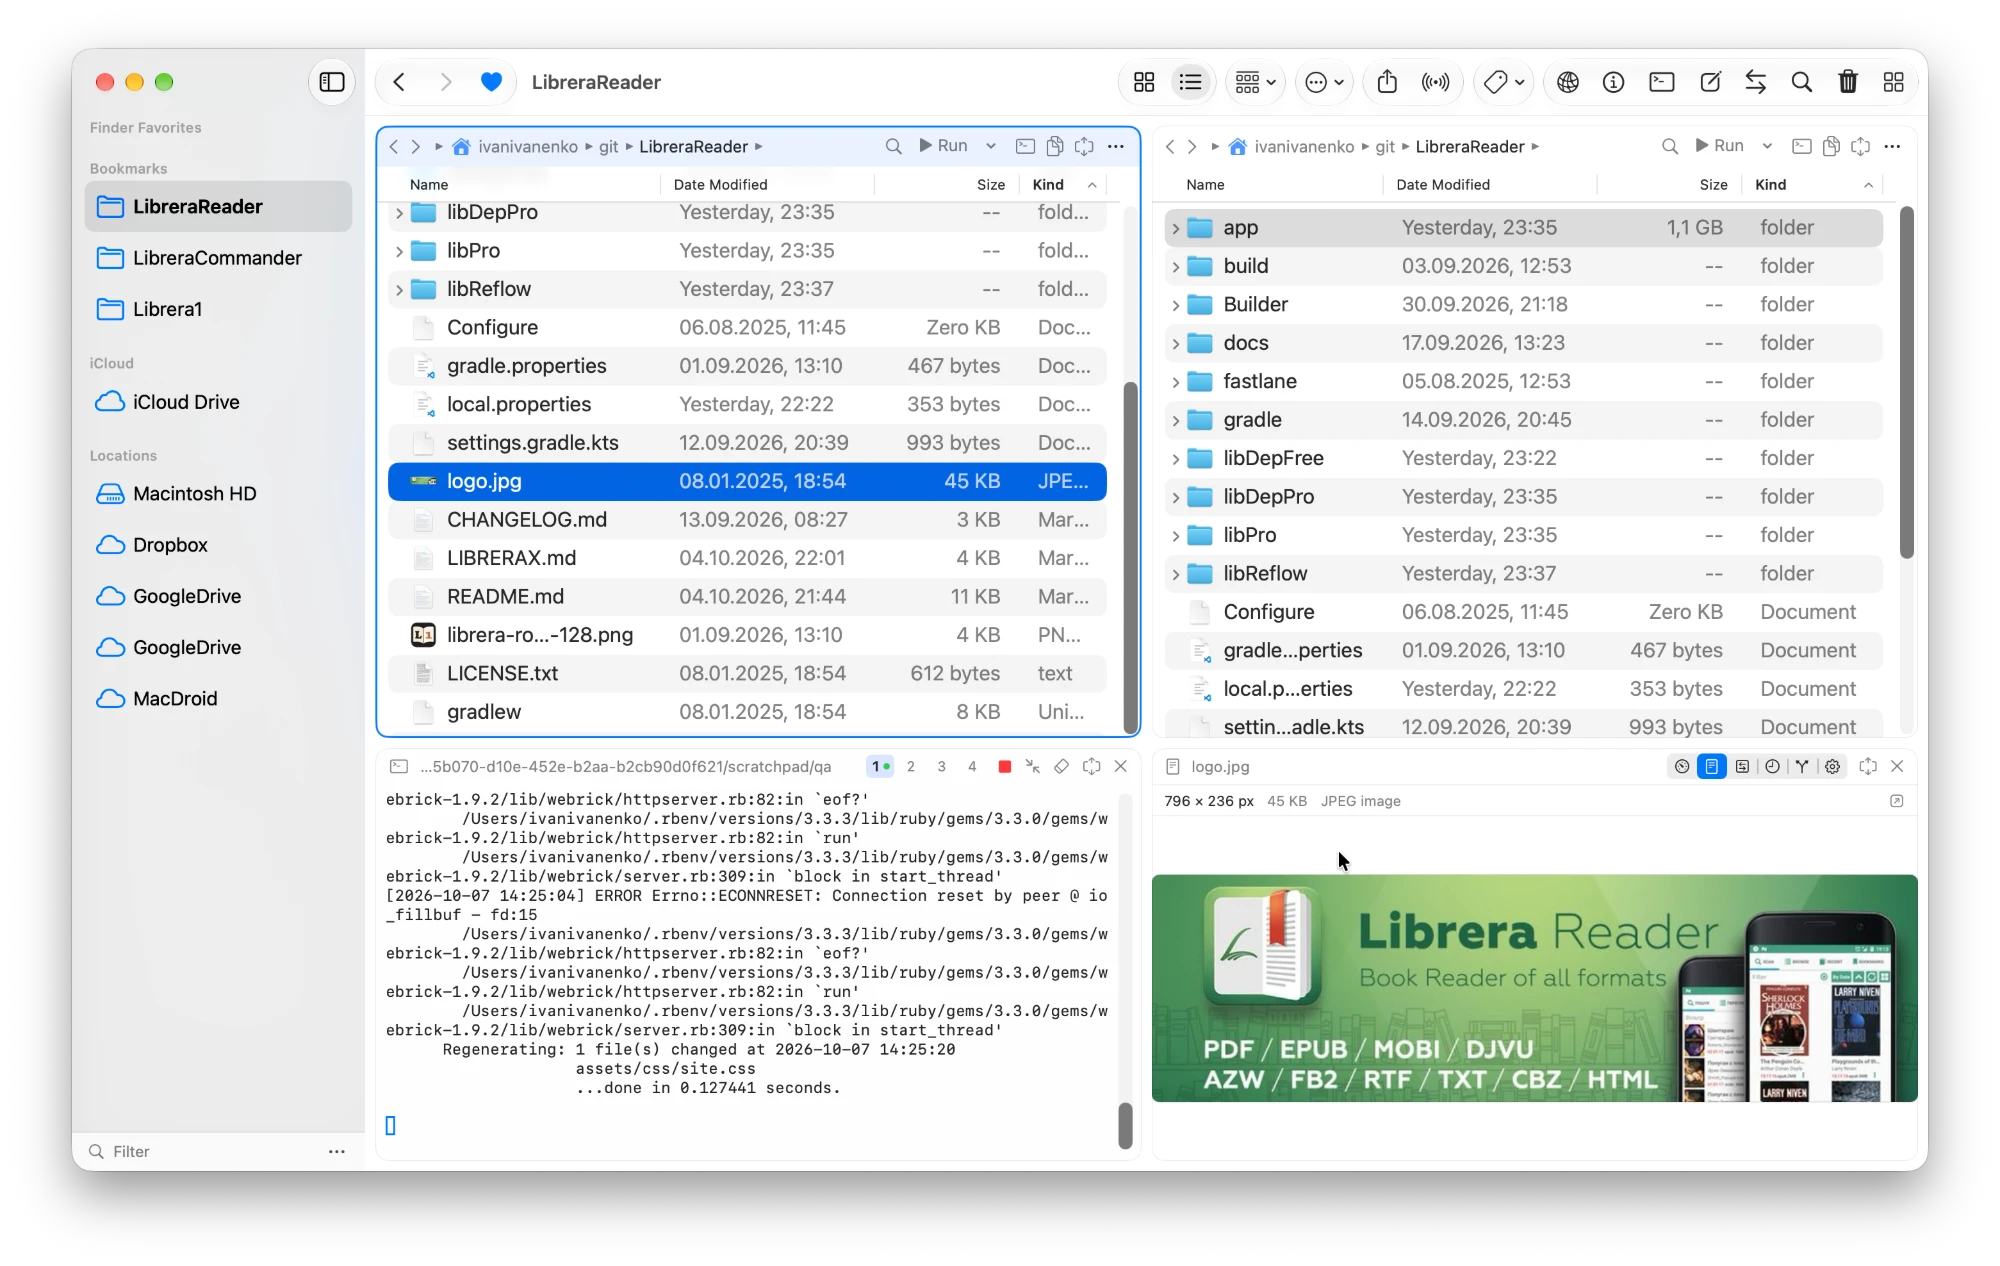
Drives, memory and swap, battery, sound volume and screen brightness sliders — or a Quick Look / text preview of the file under the cursor.
Viewer and editor
F3 views a text file, follows the cursor and sizes folders; F4 edits in place and ⌘S saves, keeping encoding and permissions.
Compare
Two files side by side, or two folders recursively, by size and date or by content. Pop any comparison out into its own window.
Media player
Audio and video in the info panel, with every tag, track, codec, chapter and bit of metadata the file carries.
Archives
The file tree of a .zip, .apk, .aab, .jar, .aar or .ipa, read without extracting, with sizes and file counts.
Git
⌘G: branch, changed files, diff of the selected file, Commit / Commit & Push.
Android panel
Choose Android for a layout cell (or press ⌥⌘A) to show an Android panel instead of the right file panel. It uses the Android SDK from ~/Library/Android/sdk (or ANDROID_HOME, or /Volumes/*/Android/sdk). The icons at its top right switch:
- Devices & Emulators — connected phones and running emulators; every AVD with ▶︎ (start inside the panel) or a window icon (start in the emulator’s own window), ■ to stop; Restart ADB if adb gets stuck.
- Screen — the device’s live screen (H.264 stream; screenshots where streaming isn’t available). Click = tap, drag = swipe, scroll = swipe, typing goes to the device (ASCII), Esc = Back; Back/Home/Recents/Volume/Power/Rotate and a screenshot (saved to the left panel’s folder).
- Device Files — the device file tree: double-click folders, ⌫ goes up, F5 downloads to the left panel’s folder, F7 new folder, F8 delete. F5 in the left panel copies its selection to the device’s Download folder (
/storage/emulated/0/Download).
Several devices at once: ⌘-click device tabs to group them. Screen and Files then show the group side by side; F5 / upload copy to every grouped device, and ▶︎ Run builds once and installs + launches on each. A plain click on a tab goes back to one device.
iOS simulators are listed under the Android devices, in their own iOS Simulators section (running ones first, then the newest iOS version; older versions are folded). ▶︎ starts one inside the panel, the window icon starts it in its own window, ■ shuts it down. A simulator that’s already running (e.g. started by Xcode) gets an attach button. A started or attached simulator becomes a tab next to the Android devices (marked with the Apple logo); right-click the tab to detach it, open its window or shut it down. Its screen is the simulator’s live framebuffer: press and drag = touch, scroll = swipe, typing goes to the device; the toolbar has Home, volume, the side button, rotate and a screenshot. ⌘-click tabs to group Android and iOS screens side by side. Device Files is Android-only.
⌘C / ⌘X / ⌘V work across file panels, Finder and the device file tree: copy (or cut, to move) files in one, paste in another. Pasting into the device tree uses the folder shown there; device files pasted into a file panel are downloaded. Cut files are moved: removed from the device, or moved to the Trash on the Mac.
Run scripts and projects
Shell scripts (.sh, .bash, .zsh, .command) have a green ▶︎ at the end of their name: click it (or ⌘↩, or Run in Terminal in the context menu) to run the script in the terminal from its own folder.
- A folder with an Xcode macOS app project gets ▶︎ Run in the panel header: it builds the Debug configuration in the terminal (errors and warnings shown) and launches the app, restarting a previous run of that build — like ⌘R in Xcode. Several app schemes: a menu; a click runs the last one used.
- An Android Gradle project (a
gradlewand an application module) gets ▶︎ Run: it builds the debug variant in the terminal, installs it only on the device selected in the Android panel, and launches it. Projects with several modules or flavors get a menu. - An Xcode iOS app project gets ▶︎ Run too: it builds for the iOS Simulator once, then installs and launches the app on every iOS simulator in the Android panel’s group (or the one running).
- A Kotlin Multiplatform root (an Android app plus an
iosApp-style subfolder with the Xcode project) gets two buttons, ▶︎ Android and ▶︎ iOS.
Terminal
The terminal has four shells: 1 2 3 4 at the top right of its header switch between them, and a green dot marks one that’s running something. ▶︎ Run (Android, iOS, Xcode) and running a script use the shown terminal when it’s free, otherwise the next free one — so an Android build and an iOS build run side by side, each in its own terminal. ■ stops the shown terminal’s task (Ctrl-C). Shells start at high priority, and the app doesn’t nap or let the Mac idle-sleep while a terminal is busy.
Keyboard
These are the defaults. Every shortcut can be changed in Settings (⌘,): click a shortcut to record a new one, + to add another, × to remove it, ↺ to restore the default. Shortcuts with ⌘ work anywhere in the app; shortcuts without ⌘ (F-keys, Return, Tab, …) work while a file panel has focus, so the terminal and text fields keep those keys.
| Key | Action |
|---|---|
| Tab | Switch active panel |
| ⇧Tab / ⌘U | Swap the left and right panels |
| ↑ ↓, Home / End | Move cursor |
| → ← | Expand / collapse folder in place |
| Return | Open folder / open file |
| Backspace | Parent folder (re-selects the folder you came from) |
| ⌘Return | Open folder under cursor in the other panel |
| ⌘T | cd the terminal to the active panel’s current folder and focus it |
| ⌘J | Show / hide terminal |
| ⌘R | Finder’s Recents in the info panel: ↩ / double-click opens, → shows it in the panel, Esc closes |
| ⌥⌘R | Refresh panel |
| ⌘G | Git tab in the info panel: branch, changed files (tick which to commit), diff of the selected file, Commit / Commit & Push |
| ⌥⌘I | Show / hide info panel |
| ⌘1 / ⌘2 / ⌘3 / ⌘4 | Focus layout cell 1 / 2 / 3 / 4, whatever it holds; a hidden panel is shown first |
| ⌥⌘G | List / Grid view of the active panel. Grid shows big icons with Quick Look previews (pictures, videos, album art, PDFs, text…) in the panel’s sort order |
| Space | Quick Look (while F3 shows an audio or video file: play / pause) |
| F1 | System info in the info panel |
| F3 | View text file in the info panel (follows the cursor). On a folder: its total size, size on disk, file / folder counts and largest items, calculated in the background |
| ⌘F3 / ⌘F4 | Like F3 / F4, with the info panel expanded to its whole column |
| ⌥R | In a folder with an Android or Xcode app project: build and run it |
| F3 on .zip / .apk / .aab / .jar / .aar / .ipa | The archive’s file tree, read without extracting: folders expand in place and show their total unpacked size and file count. Double-click a file to open it in its app |
| F3 on audio / video | A player in the info panel: video picture or album artwork, play / pause, ±10 s, a seek bar, speed (0.5×–2×), mute and volume. Below: tags, duration, size, bitrate, each track’s codec and format, subtitle tracks, chapters and all other metadata the file carries. ⌥⌘P plays / pauses from anywhere |
| ⌘↑ / ⌘↓ after F3 | Scroll the text in the info panel without leaving the file panel |
| F4 | Edit the file under the cursor in the info panel; F4 / Esc / Done finishes and asks about unsaved changes |
| ⌘S | Save the edited file (keeps its encoding and permissions) |
| Esc | Leave the text viewer / comparison and return to system info |
| ⌃⌘C | Compare files in the info panel: the two selected files, or the file under the cursor with the same-named file in the other panel |
| ⇧F2 | Compare folders in the info panel: the two panels’ folders (recursive; by size & date or by content) |
| ⌥↑ / ⌥↓ | Previous / next change in a file comparison |
| F5 / F6 | Copy / move selection to the other panel |
| ⇧F6 | Rename |
| F7, ⇧⌘N | New folder |
| F8, ⌘⌫ | Move to Trash |
| ⌘C / ⌘V | Copy / paste files |
| ⌘F | Filter current panel (Esc clears) |
| ⇧⌘. | Show hidden files |
| ⌘[ / ⌘] / ⌘↑ | Back / forward / enclosing folder |
| ⌘= | Same folder in other panel |
| ⌘D | Add folder to Bookmarks |
| ⇧⌘G | Go to folder |
| ⇧⌘I | Get Info: Finder’s info window for the selection |
Right-click menu
- Quick Actions — like Finder’s, for the selected files. Pictures: Rotate Left / Right, Create PDF, Convert Image… (JPEG / PNG / HEIF / TIFF), Remove Background. PDFs: Rotate, Create PDF (combine). Video: Trim…, Encode Video… (480p, 720p, 1080p, 4K, H.264 or HEVC, or audio only). Audio: Trim…, Convert to AAC (M4A). Below them: your Automator Quick Actions and your shortcuts.
- Services — other apps’ services that take the selected files, grouped by app.
- Open With — like Finder: the default app first, then every other app that can open the file, then Other…
- Compress / Uncompress — zips the selection; on .zip files, uncompresses them next to themselves instead.
Drag files between panels (or from Finder) to copy them — dragging never moves files; use F6 to move. Drag folders into the sidebar’s Bookmarks section.
Settings → Files → “Open folders with a single click” opens folders on one click. “Image previews in file panels” (on by default) shows pictures as small thumbnails of themselves instead of the generic image icon. “Always open sidebar items in the left panel” sends favorites, bookmarks and locations to the left panel instead of the active one.
Volume and brightness
The info panel’s Sound & Display card controls the default output device (slider, click the speaker to mute) and every display’s brightness: built-in and Apple displays, and external monitors over DDC/CI (Apple silicon). Monitor brightness is read when the panel opens and written as you drag.